Gender Reveal Cake
Gender Reveal Cake Recipe: A Sweet Surprise for Your Special Day!
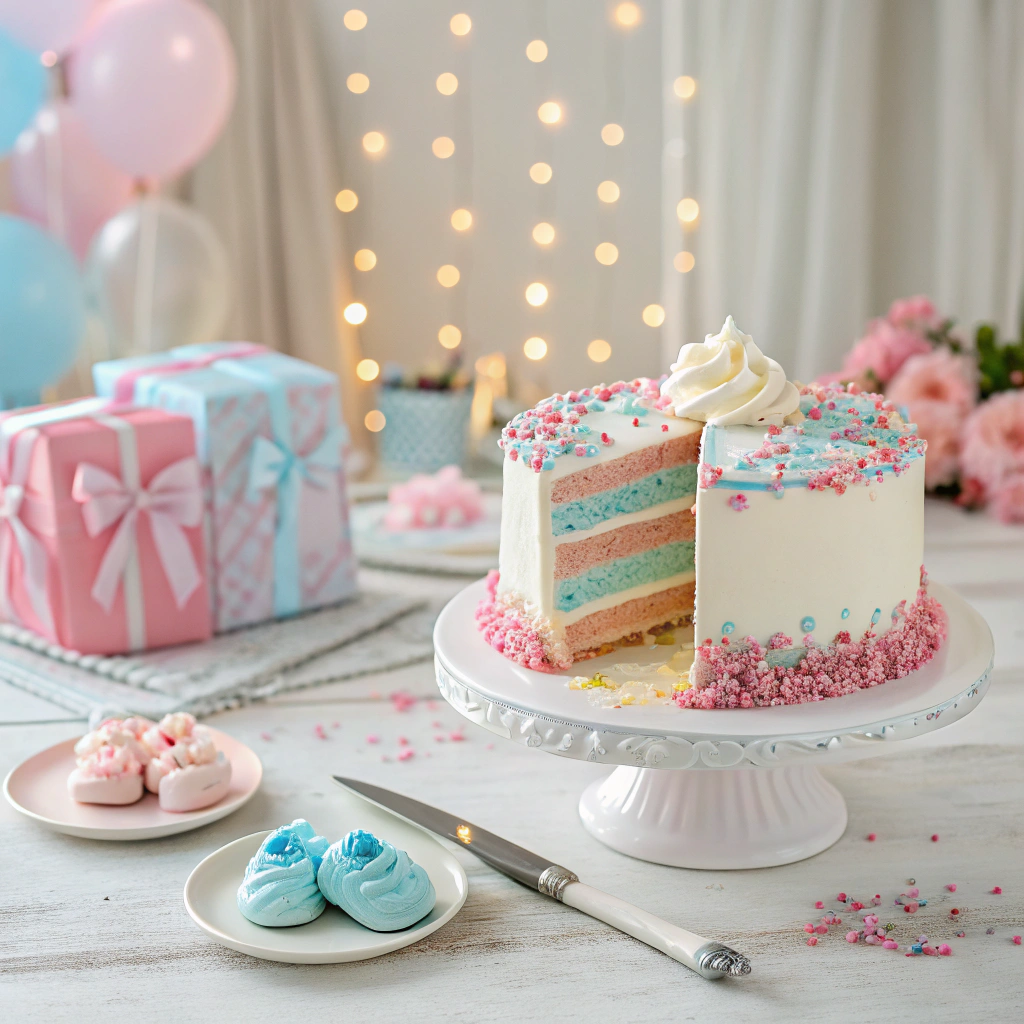
When it comes to celebrating one of life’s most joyous moments, a gender reveal cake is the perfect centerpiece. This cake not only tastes heavenly but also serves as a fun way to announce whether you’re expecting a boy or a girl. In this recipe, we’ll walk you through every step to create a stunning and delicious gender reveal cake that’s sure to wow your family and friends. Let’s get started!
Why Choose a Gender Reveal Cake?
A gender reveal cake adds excitement to your special day. The anticipation builds as guests gather around, eagerly awaiting the first slice to reveal the vibrant pink or blue inside. It’s a simple yet memorable way to share this life-changing news while treating everyone to a slice of indulgence. Plus, it’s a great excuse to show off your baking skills!
Ingredients: What You’ll Need
This recipe yields a two-layer 8-inch cake, perfect for a small to medium gathering.
For the Cake:
- 2 1/2 cups (310g) all-purpose flour
- 2 1/2 teaspoons baking powder
- 1/2 teaspoon salt
- 1 cup (227g) unsalted butter, softened
- 2 cups (400g) granulated sugar
- 4 large eggs, at room temperature
- 1 teaspoon vanilla extract
- 1 cup (240ml) whole milk, at room temperature
- Pink or blue food coloring
For the Frosting:
- 1 cup (227g) unsalted butter, softened
- 4 cups (500g) powdered sugar
- 2-3 tablespoons heavy cream or milk
- 1 teaspoon vanilla extract
- Optional: Neutral-colored sprinkles or fondant decorations
Tools You’ll Need:
- Two 8-inch round cake pans
- Parchment paper
- Mixing bowls (large and medium sizes)
- Electric mixer (stand or hand mixer)
- Offset spatula for frosting
- Serrated knife for leveling the cake layers
- Cake stand or serving platter
Step-by-Step Instructions
1. Prepare Your Cake Pans
Preheat your oven to 350°F (175°C). Grease two 8-inch round cake pans with butter or non-stick spray, then line the bottoms with parchment paper. This ensures the cakes release easily after baking.
2. Mix the Dry Ingredients
In a medium bowl, whisk together the flour, baking powder, and salt. Set this aside for later.
3. Cream the Butter and Sugar
In a large mixing bowl, use an electric mixer to beat the softened butter and sugar together until light and fluffy. This process takes about 3-5 minutes and is crucial for achieving a tender, airy cake.
4. Add the Eggs and Vanilla
Add the eggs one at a time, mixing well after each addition. Then, stir in the vanilla extract. Scrape down the sides of the bowl as needed to ensure everything is evenly mixed.
5. Alternate Adding Dry Ingredients and Milk
With the mixer on low speed, alternate adding the dry ingredients and milk to the butter mixture, starting and ending with the dry ingredients. Mix just until combined; overmixing can make the cake dense.
6. Divide and Color the Batter
Divide the batter evenly into two bowls. Leave one portion plain and add a few drops of pink or blue food coloring to the other, depending on your baby’s gender. Stir the colored batter gently until the color is uniform.
7. Bake the Cakes
Pour each portion of batter into the prepared cake pans. Smooth the tops with a spatula. Bake for 25-30 minutes, or until a toothpick inserted into the center comes out clean.
8. Cool the Cakes
Allow the cakes to cool in the pans for 10 minutes, then transfer them to a wire rack to cool completely. Don’t rush this step—frosting warm cakes can cause the frosting to melt.
Assembling the Cake
1. Level the Cake Layers
Once the cakes are completely cool, use a serrated knife to level the tops if necessary. This ensures the layers stack evenly.
2. Make the Frosting
In a large mixing bowl, beat the softened butter with an electric mixer until creamy. Gradually add the powdered sugar, one cup at a time, mixing on low speed. Once combined, add the vanilla extract and heavy cream or milk, one tablespoon at a time, until the frosting reaches a smooth, spreadable consistency.
3. Frost the Cake
Place the plain cake layer on a cake stand or serving platter. Spread a generous layer of frosting on top. Gently place the colored cake layer on top, then frost the entire cake with a thin crumb coat. Chill the cake in the refrigerator for 20-30 minutes to set the crumb coat.
4. Final Frosting and Decoration
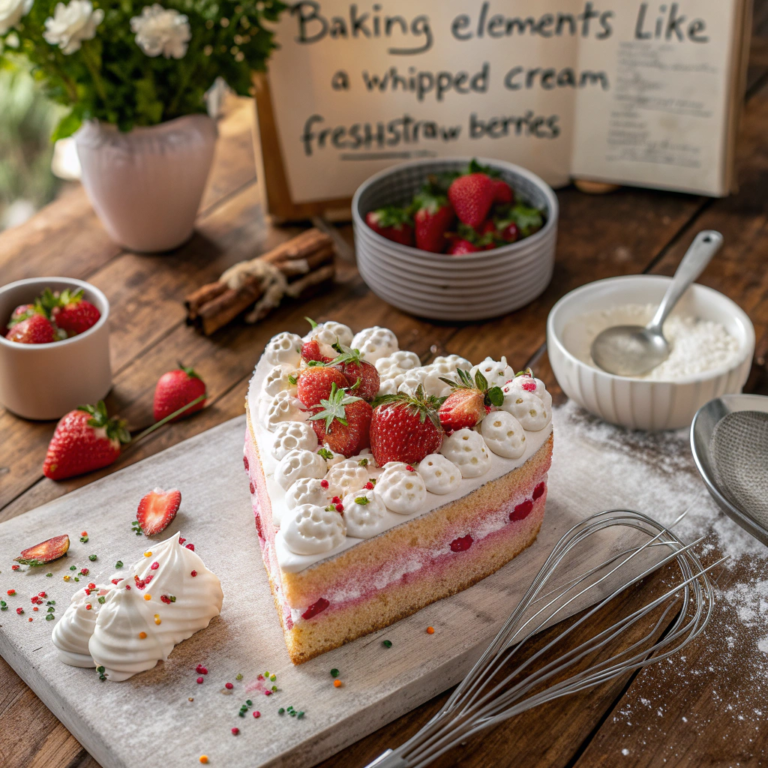
Once the crumb coat is set, apply a final layer of frosting, smoothing it out with an offset spatula. Decorate the cake with neutral-colored sprinkles, fondant decorations, or a topper that says “Boy or Girl?” for added flair.
Serving the Cake
When it’s time to reveal the gender, gather everyone around and cut a slice from the cake. The vibrant pink or blue inside will make for an unforgettable moment! Don’t forget to capture photos to commemorate the occasion.
Tips for Success
- Use Gel Food Coloring: Gel food coloring produces more vibrant colors without altering the consistency of the batter.
- Room Temperature Ingredients: Ensure all your ingredients (butter, eggs, milk) are at room temperature. This helps the batter mix evenly.
- Chill for Clean Slices: For neat cake slices, chill the assembled cake for 30 minutes before cutting.
- Customize Your Decorations: Add personalized touches like edible glitter, themed cake toppers, or piped designs to make your cake unique.
Variations and Alternatives
- Flavor Twist: Add a teaspoon of almond or lemon extract to the cake batter for a subtle flavor variation.
- Color Options: If you want to keep the gender a surprise for yourself, ask a trusted friend or baker to add the food coloring for you.
- Cupcake Version: Transform this recipe into gender reveal cupcakes by filling cupcake liners with plain batter and adding a dollop of colored batter in the center.
Conclusion
A gender reveal cake is more than just a dessert; it’s a moment of pure joy and excitement shared with loved ones. With this detailed recipe, you’re ready to create a stunning centerpiece that’s as delicious as it is meaningful. Whether you’re revealing pink or blue, this cake is sure to make the occasion unforgettable.
We’d love to see your creations! Share your gender reveal cake photos and tag us in your posts. Happy baking and congratulations on your little bundle of joy!
#GenderReveal #CakeRecipe #BakingJoy #SurpriseInside

