Heart-Shaped Cake Recipe: A Sweet Delight for Your Loved Ones! ❤️🍰
Introduction
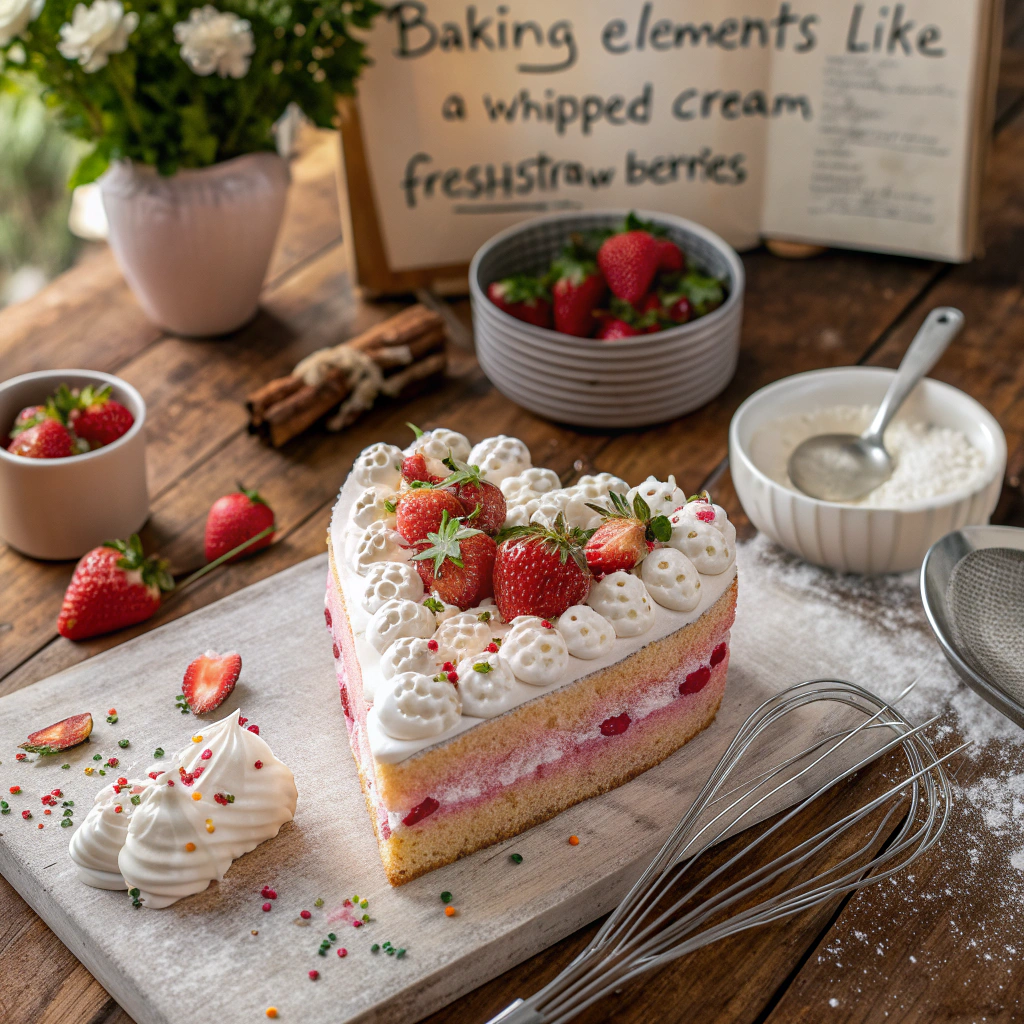
Nothing says “I love you” like a homemade heart-shaped cake! Perfect for Valentine’s Day, anniversaries, birthdays, or any occasion where love is in the air, this cake is a delicious way to show you care. It’s moist, fluffy, and topped with luscious whipped cream frosting and fresh strawberries. Let’s dive into this detailed recipe that will guide you step-by-step to create this masterpiece! 🎂✨
Ingredients 🛒
Here’s everything you’ll need to bake this beautiful cake:
For the cake:
- 2 ½ cups all-purpose flour
- 2 ½ tsp baking powder
- ½ tsp salt
- ¾ cup (1 ½ sticks) unsalted butter, softened
- 1 ¾ cups granulated sugar
- 4 large eggs, at room temperature
- 1 cup whole milk (lactose-free if needed)
- 1 ½ tsp pure vanilla extract
- Red or pink food coloring (optional, for festive flair) 🎨
For the whipped cream frosting:
- 2 cups heavy whipping cream (or a dairy-free alternative)
- 1 cup powdered sugar
- 1 tsp pure vanilla extract
For decoration:
- Fresh strawberries, sliced 🍓
- Heart-shaped sprinkles or edible glitter (optional) ✨
Step-by-Step Instructions 📝
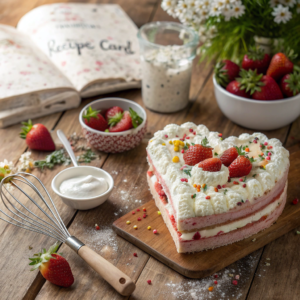
1. Prepare Your Tools and Preheat the Oven 🔧🔥 Start by preheating your oven to 350°F (175°C). Grease and line a heart-shaped cake pan. Don’t worry if you don’t have one—you can use a round and a square pan to create a heart shape. Simply cut the round cake in half and position the halves on the sides of the square cake to form a heart. 💡
2. Mix the Dry Ingredients 🥣 In a medium-sized bowl, sift together the all-purpose flour, baking powder, and salt. This step ensures your cake will be light and airy. Set the bowl aside.
3. Cream the Butter and Sugar 🧈+🍬 In a large mixing bowl, beat the softened butter and granulated sugar with an electric mixer on medium speed until the mixture is light and fluffy. This should take about 3-4 minutes. Properly creamed butter and sugar are key to a tender cake.
4. Add the Eggs 🥚 Add the eggs one at a time, beating well after each addition. This helps incorporate air into the batter, making the cake fluffy.
5. Alternate Dry Ingredients and Milk 🥛 Reduce the mixer speed to low. Gradually add the dry ingredients to the butter mixture in three additions, alternating with the milk in two additions (start and end with the dry ingredients). Mix just until combined after each addition. Avoid overmixing, as this can result in a dense cake.
6. Add Vanilla and Food Coloring 🌸 Stir in the vanilla extract for a delightful aroma. If you’re using food coloring, add a few drops until you achieve your desired shade of pink or red.
7. Bake the Cake 🍰 Pour the batter into the prepared pan(s), smoothing the top with a spatula. Bake in the preheated oven for 25-30 minutes, or until a toothpick inserted into the center comes out clean.
8. Cool Completely ❄️ Allow the cake to cool in the pan for 10 minutes, then transfer it to a wire rack to cool completely. A cool cake ensures the frosting won’t melt when applied.
Prepare the Whipped Cream Frosting 🎂
While the cake cools, it’s time to whip up the frosting:
1. Chill the Bowl and Beaters 🧊 For best results, chill your mixing bowl and beaters in the freezer for 10-15 minutes. Cold tools help the cream whip faster and hold its shape.
2. Whip the Cream 🍦 In the chilled bowl, combine the heavy cream, powdered sugar, and vanilla extract. Beat with an electric mixer on medium-high speed until stiff peaks form. Be careful not to overwhip, as the cream can turn into butter.
Assemble the Cake 🏗️
1. Level the Cake Layers ✂️ If your cake has domed tops, use a serrated knife to level them. This ensures even layers and a professional look.
2. Frost the Cake 🎂 Spread a thin layer of whipped cream frosting over the first layer of cake. Add the second layer on top and spread frosting evenly over the entire cake. Use a spatula to create smooth or swirled textures, depending on your style.
3. Decorate 🌟 Arrange sliced strawberries on top of the cake in a decorative pattern. Add heart-shaped sprinkles or edible glitter for a festive touch.
Tips for Success 🌟
- Room Temperature Ingredients: Always use room temperature eggs and butter for a smooth batter.
- Avoid Overmixing: Overmixing the batter can result in a dense cake, so mix just until combined.
- Whipping Cream: Keep your cream and tools cold to achieve the perfect whipped texture.
- Customize the Flavor: Add a layer of strawberry or raspberry jam between the layers for an extra burst of flavor.
Serving and Storing 🍴
Serve your heart-shaped cake immediately or store it in the refrigerator until ready to serve. It’s best enjoyed within 2-3 days. Keep it covered to maintain freshness.
Conclusion 💬
This heart-shaped cake is not just a dessert; it’s a heartfelt gesture that speaks volumes. Whether you’re celebrating a special occasion or simply treating someone you love, this recipe is sure to bring smiles and sweet memories. ❤️
Have you tried this recipe? Share your creations in the comments or tag us in your photos. We’d love to see your heart-shaped cake and hear about your baking adventures! 🥰

