The Ultimate Guide to Making Custom Cookies at Home
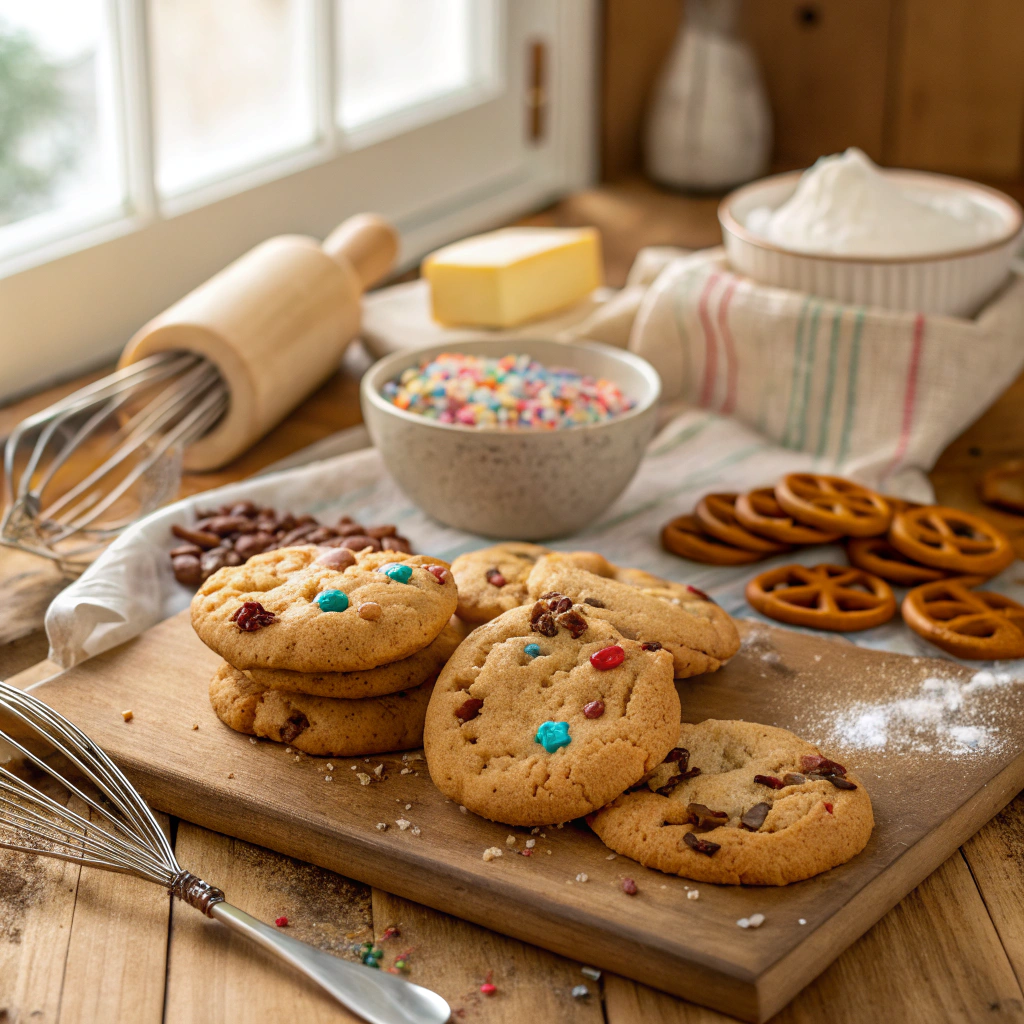
If you’re searching for “custom cookies near me,” why not take it one step further and create your own? Baking homemade cookies allows you to experiment with flavors, textures, and designs to make a treat that’s truly yours. Whether you’re planning a family gathering, a party, or just a quiet day at home, custom cookies are a delightful project. Here’s a detailed recipe to help you make your own cookies, tailored to your taste! 🧑🍳
📝 Ingredients for Custom Cookies
Base Cookie Dough:
- 2 3/4 cups all-purpose flour ✨
- 1 tsp baking soda 🪡
- 1/2 tsp baking powder 🫐
- 1/2 tsp salt 🌊
- 1 cup (2 sticks) unsalted butter, softened 🧈
- 1 1/2 cups granulated sugar 🍇
- 1 large egg 🥚
- 1 tsp vanilla extract 🍸
Mix-Ins (Choose Your Favorites!):
- 1 cup chocolate chips 🍫
- 1 cup crushed pretzels 🧈
- 1 cup chopped nuts (e.g., almonds, walnuts) 🧏♂️
- 1/2 cup mini marshmallows ☁️
- Colorful sprinkles for decoration 🎈
Optional Decorations:
- Royal icing for piping designs 💃
- Food coloring for a vibrant touch 🌿
🔧 Step-by-Step Instructions
1. Prepare Your Workspace 🏡
Before you begin, preheat your oven to 375°F (190°C) and line a baking sheet with parchment paper. Gather all your ingredients and tools, such as mixing bowls, measuring cups, a whisk, and a spatula.
2. Mix Dry Ingredients 🫀
In a medium-sized bowl, whisk together the flour, baking soda, baking powder, and salt. This ensures even distribution and prevents clumps in your dough.
3. Cream Butter and Sugar 🌈
In a large bowl, use a hand mixer or stand mixer to cream the softened butter and granulated sugar until light and fluffy. This step creates air pockets, making your cookies soft and tender.
4. Add Wet Ingredients 💞
Beat in the egg and vanilla extract until well combined. The mixture should be smooth and creamy.
5. Combine Wet and Dry Ingredients 🌿
Gradually add the dry ingredients to the wet mixture, stirring until a dough forms. Avoid overmixing to ensure your cookies remain soft and chewy.
6. Get Creative with Mix-Ins 🎉
Divide the dough into portions if you want to try different flavors. Add your chosen mix-ins to each portion, folding them in gently. For example:
- Add chocolate chips for a classic touch.
- Stir in crushed pretzels for a sweet-and-salty combo.
- Mix in colorful sprinkles for a fun party vibe.
7. Shape and Chill 🥇
Roll the dough into balls, about 1 to 2 tablespoons each, and place them on the prepared baking sheet. Leave enough space between cookies for spreading. For best results, chill the dough in the fridge for 15-30 minutes before baking.
8. Bake to Perfection 🎨
Bake the cookies for 8-10 minutes, or until the edges are golden brown. The centers should still look slightly underbaked—they’ll continue to set as they cool.
9. Cool and Decorate 💖
Let the cookies cool on the baking sheet for 5 minutes before transferring them to a wire rack. Once completely cool, decorate with royal icing, extra sprinkles, or any toppings you love.
🔑 Tips for Customization
- Flavor Variations: Add a teaspoon of almond extract, orange zest, or cinnamon to the dough for a unique flavor twist. 🍊
- Shape Your Cookies: Use cookie cutters to create fun shapes for holidays, birthdays, or special occasions. 🎄
- Healthier Options: Substitute half of the all-purpose flour with whole wheat flour or use coconut sugar instead of granulated sugar. 🌿
- Storage: Store cookies in an airtight container for up to a week. You can also freeze the dough for later use. 💫
📸 Share Your Creations
We’d love to see your custom cookies! Snap a photo and tag us on social media with #SwirlyRecipes. Who knows, your cookies might be featured on our page! 😍
Why Make Custom Cookies? 🍰
Baking at home not only saves money but also lets you control the ingredients and get creative. Plus, the smell of freshly baked cookies in your kitchen is unbeatable! Whether you’re baking for a loved one or treating yourself, custom cookies are always a great choice.
Now it’s your turn! Gather your ingredients, preheat your oven, and let the baking adventure begin. Happy baking! 🍪

